O objetivo do nvim-treesitter é fornecer uma maneira simples e fácil de usar a interface para o Neovim e fornecer algumas funcionalidades básicas, como realce com base nela .
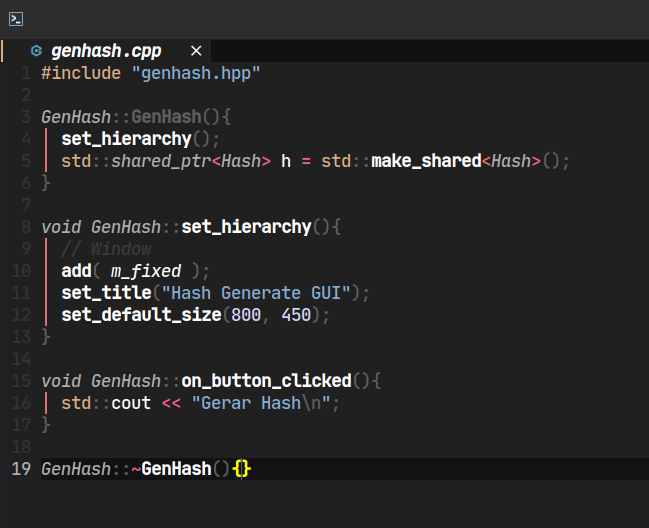
Na imagem desse artigo você já consegue notar a diferença.
Para instalar o Nvim Treesitter, se você ainda não configurou seu Neovim com Lua, sugiro você seguir essa série .
Use o Packer ou o Vim Plug para adicionar o Treesitter:
Plug 'nvim-treesitter/nvim-treesitter', {'do': ':TSUpdate'}
-- Ou
use {
  'nvim-treesitter/nvim-treesitter',
    run = ':TSUpdate'
}
Pode ser que após instalação apareça um warning, mas é pelo fato da atualização rodar mesmo antes de você definir as configurações, então descarte isso ser considerado um problema .
Após instalado, basta você definir as configurações em um arquivo , exemplo:
require'nvim-treesitter.configs'.setup {
  -- A list of parser names, or "all"
  ensure_installed = { "c", "lua", "cpp", "java", "bash" },

  -- Install parsers synchronously (only applied to `ensure_installed`)
  sync_install = false,

  -- List of parsers to ignore installing (for "all")
  ignore_install = { "javascript" },

  highlight = {
    -- `false` will disable the whole extension
    enable = true,

    -- NOTE: these are the names of the parsers and not the filetype. (for example if you want to
    -- disable highlighting for the `tex` filetype, you need to include `latex` in this list as this is
    -- the name of the parser)
    -- list of language that will be disabled
    disable = { "c", "bash" },

    -- Setting this to true will run `:h syntax` and tree-sitter at the same time.
    -- Set this to `true` if you depend on 'syntax' being enabled (like for indentation).
    -- Using this option may slow down your editor, and you may see some duplicate highlights.
    -- Instead of true it can also be a list of languages
    additional_vim_regex_highlighting = false,
  },
}
Note que as configurações habilita para as linguagens de programação: C, Lua, C++, Java e Bash , mas na linha correspondende a variável disable, ele desabilita para C e Bash, o fato de haver isso é porque se você somente remover da variável ensure_installed o Treesitter continuará exibindo.
Isso é só uma exemplo de uso, altere conforme desejar!
Assim que você para habilita para uma determinada linguagem de programação, quando você abrir o arquivo ele fará o download do código correspondende para habilitar o Treesitter específico, note isso no rodapé!
Combinando com seu tema de cores
Existem diversos temas de cores que ficam muito mais expressivos quando unido ao Treesitter.
Por exemplo, atualmente estou usando o tema sobrio que no início eu não havia gostado muito, mas depois de usar junto com o Treesitter o resultado melhorou muito, exemplo:
Para instalar o Sobrio, use seu instalador, exemplo com o Packer.nvim :
use 'elvessousa/sobrio'Para mais informações acesse o repositório do Nvim treesitter no GitHub: